Das
erste, was Sie meine lieben Leser sehen, wenn Sie sich der Festung Eben Emael
nähern, ist, …
gar
nichts.
Ja. Sie
haben richtig gelesen.
Besucher,
die es vielleicht von Burgen oder auch noch von Vauban’chen Festungen gewohnt
sind, schon bei der Annäherung von Gräben, Türmen, Bastionen, Lunetten,
diversen Mauern und Vorwerken empfangen zu werden, könnten sogar enttäuscht
sind.
Ja.
Eben
Emael ist eine moderne Festung.

Wenn Sie
schon einmal in einer Anlage der Maginotlinie waren, ja dann bekommen sie einen
Wiedererkennungswert.
Dann
denken Sie, war da nicht was?
Auch Eben
Emael ist nach dem Ersten Weltkrieg, genauer in den Jahren zwischen 1932 und
1939 entstanden, und galt damals als eine der neuesten und stärksten
Festungsanlagen der Welt.
Sie war
als direkte Reaktion auf die Kriegsereignisse des Ersten Weltkriegs mit der
Verletzung der belgischen Neutralität durch einmarschierende deutsche
kaiserliche Truppen entstanden.
Sie
ergänzte dann auch in der Tat die Maginotlinie im Grunde nach Norden, und
bildete als Fort die nördlichste Anlage im Festungsgürtel Lüttich.
Festungen
im Raum Lüttich hatten ein Tradition, die bereits auf das 19. Jahrhundert
zurückzuführen war.
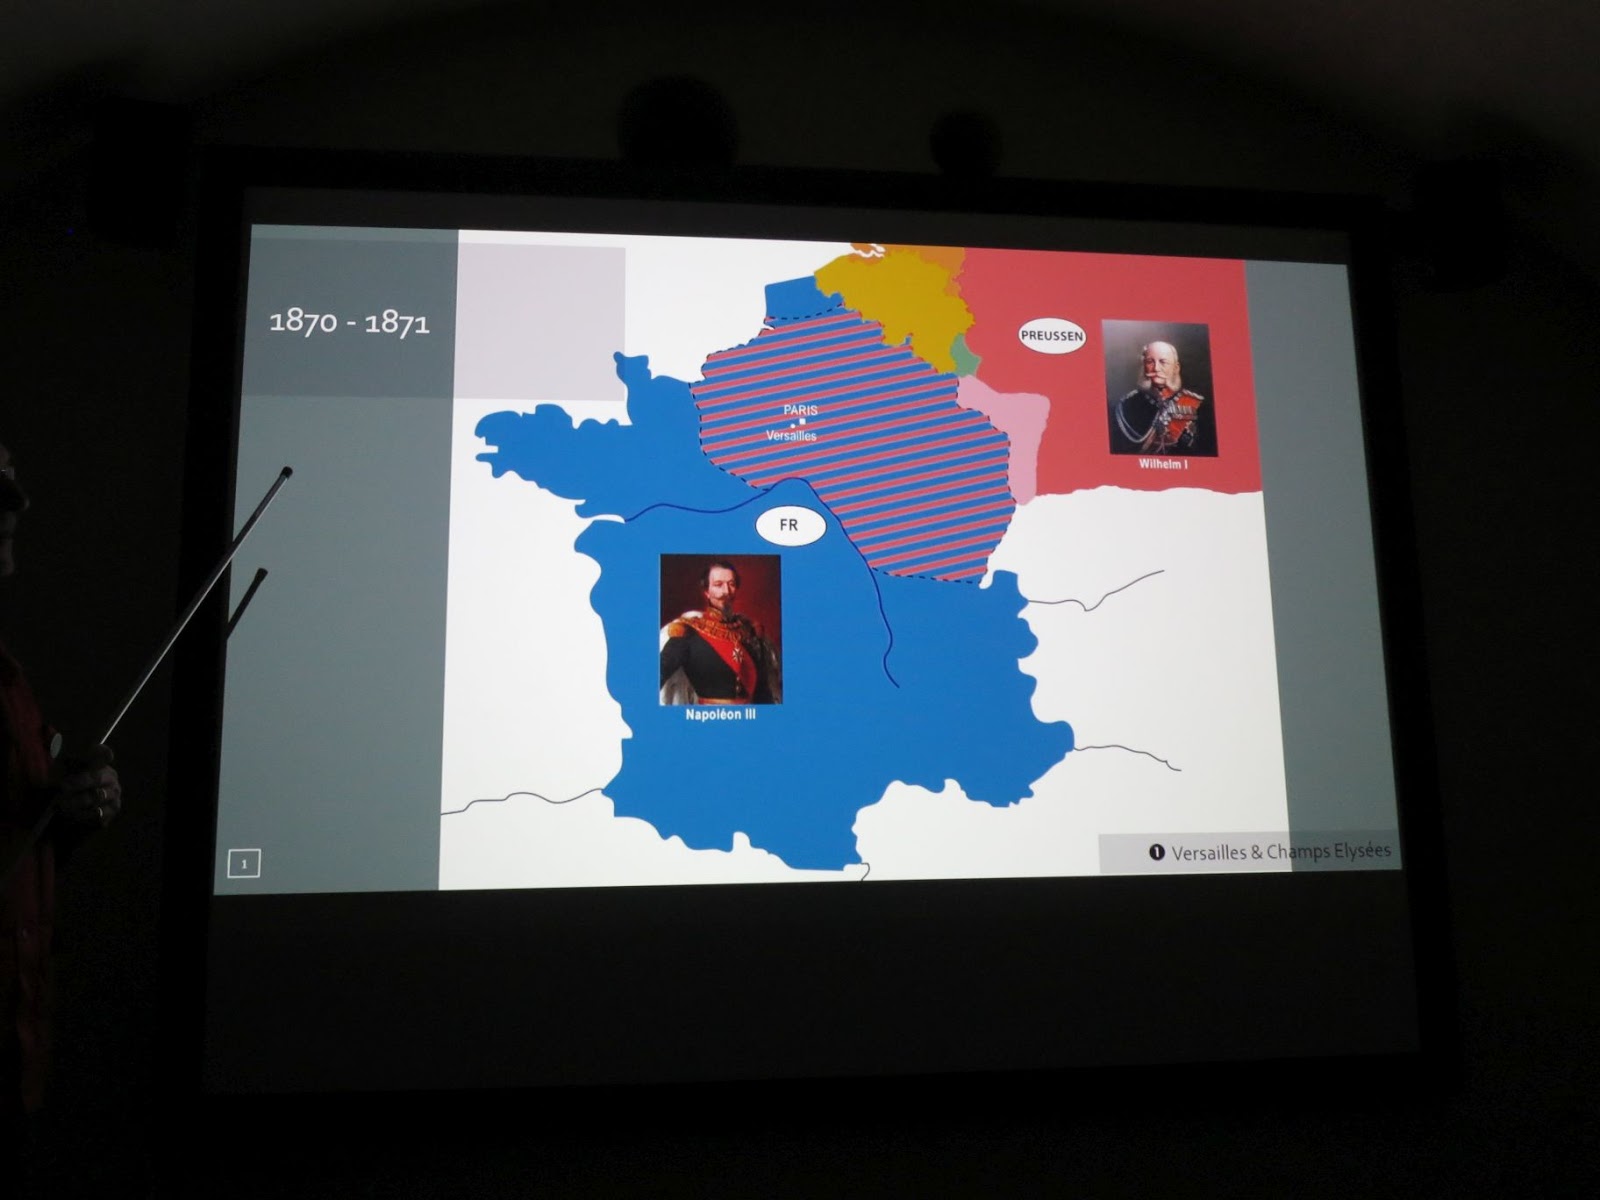
Der
Deutsch-Französische Krieg hatte die belgische Neutralität im Jahr 1870 noch
nicht berührt. Ob dies auch in der Zukunft so bleiben würde, war unsicher.

Darüber
waren sich auch die Belgier im Klaren.
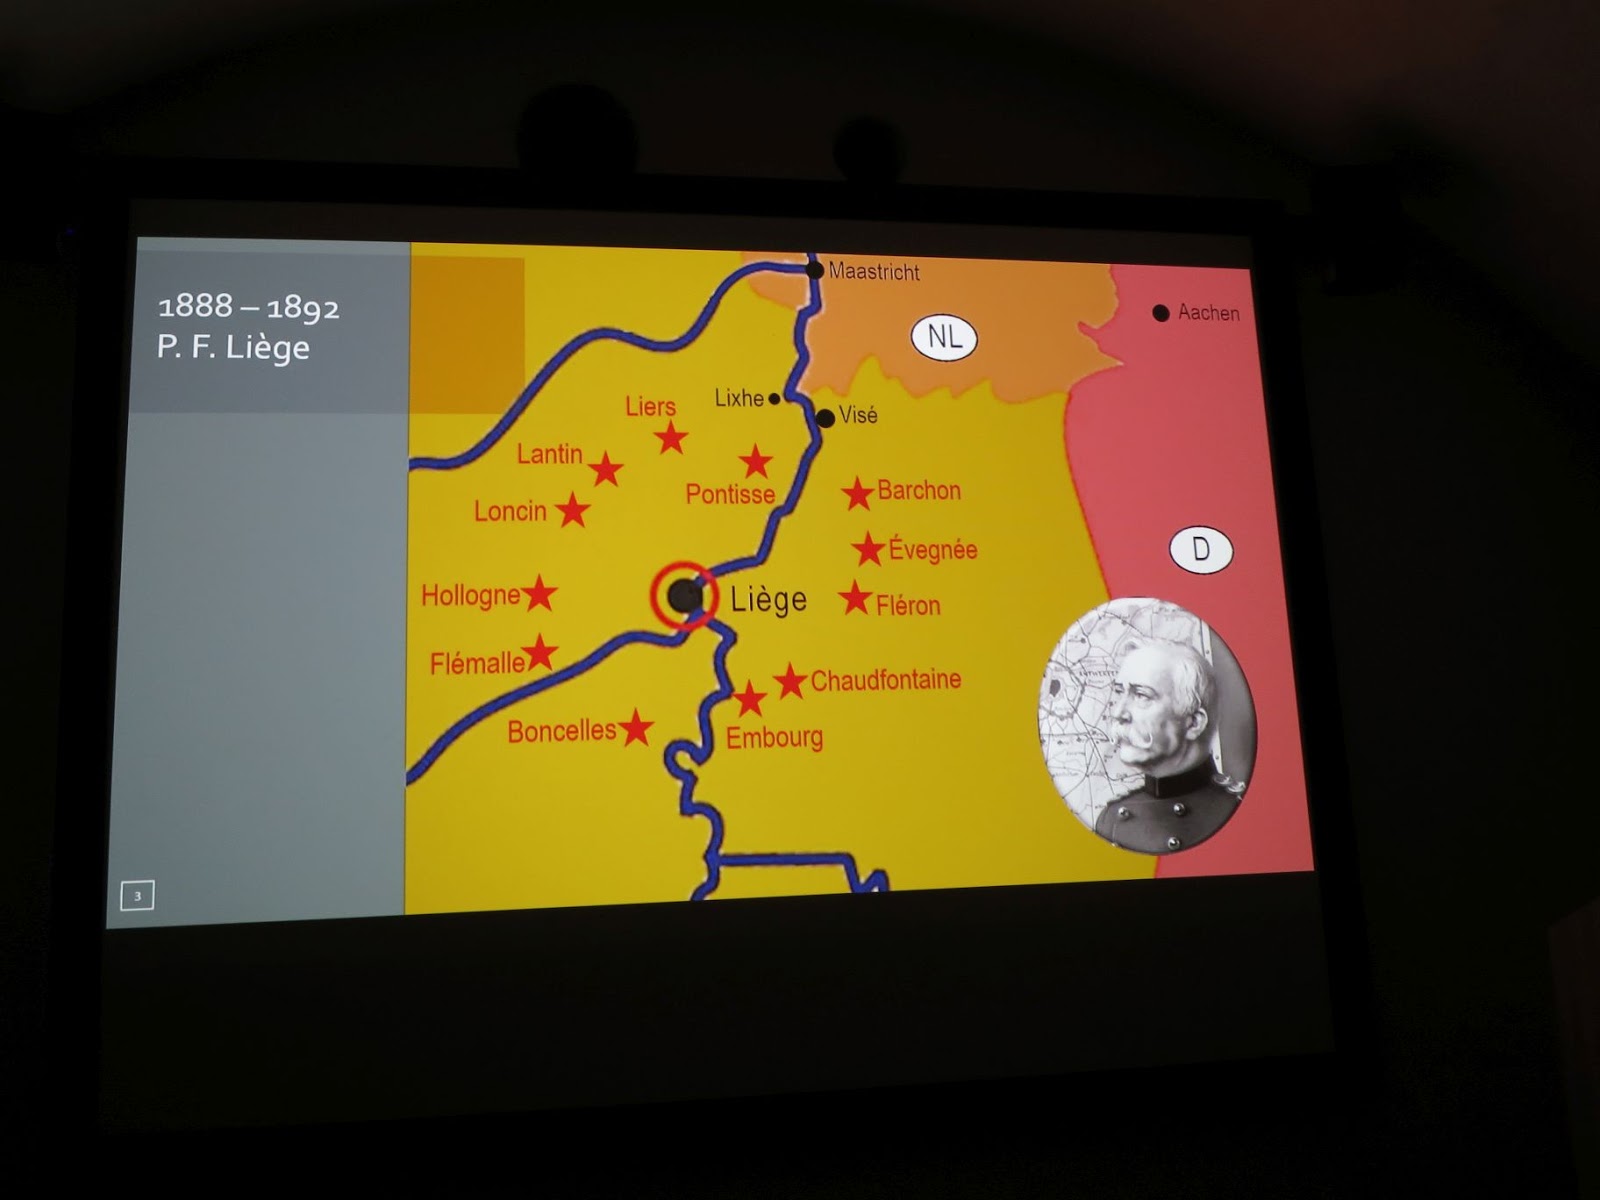
Aufgrund
dieser Befürchtung entschied sich Belgien in den Jahren 1882 bis 1892 einen
Festungsgürtel mit insgesamt 12 Forts um Lüttich herum zu bauen, die die
wichtigen Maasübergängen und das Dreiländereck Deutschland-Niederlande-Belgien
beherrschen sollten.
Belgien
wollte den Durchmarsch einer aus dem Osten, sprich Deutschland, kommenden
Armee, hier aufhalten, oder wenn das nicht funktionieren sollte, zumindest
verzögern.
Die Forts
zogen sich konzentrisch in einem Abstand von jeweils 7 km um den Innenstadtring
von Lüttich, und waren auch bereits in Betonbauweise errichtet.
Wie so
oft in der Kriegsgeschichte galten diese Forts noch zu Beginn des Ersten
Weltkriegs als uneinnehmbar.
Eine
Expertise, die so nicht gehalten werden konnte. Im Gegenteil.
Die
Aufmarschpläne des Deutschen Kaiserreichs nach 1870/71 sahen dann tatsächlich
die Verletzung der belgischen Neutralität vor.
Nicht nur
der Schlieffenplan, das jahrzehntelange Credo deutsch-preußischer Generalstabsarbeit,
auch der abgewandelte Moltke Plan, sahen einen Einfall in Belgien vor.

Allerdings
sollte bei Schlieffen auch die Neutralität der Niederlande ignoriert werden,
was deutsche Truppen in die Lage versetzt hätte, den Festungsgürtel in Belgien
zu umgehen.
Die
Konzentration der deutschen Truppen in Belgien im Rahmen des Moltkeplans, der
die niederländische Neutralität aus militärischen und kriegswirtschaftlichen
Gründen aber respektierte, machte diese Umgehung nicht möglich und ein Angriff
auf die Festung Lüttich war somit zwangsläufig.

Zitadelle
und Innenstadt konnten dann auch von deutschen Truppen relativ schnell besetzt
werden (Kämpfe zwischen dem 4. und 7. August).
Jedoch
hatte man schon hier einen heftigeren Widerstand erfahren, als man dies
erwartet hatte.
Die Forts
hielten aber alle Stand und mussten somit bekämpft werden (8. bis 16. August).
2 Forts
kapitulierten dann schon vor Eintreffen der schweren deutschen
Belagerungsartillerie am 12. August.
Als die
schweren Kanonen das Feuer eröffneten, kapitulierten bis zum 14. alle Forts
zwischen Lies im Norden und Embourg im Süden.
Die
Explosion des Forts Loncin, durch einen Volltreffer in der Munitionskammer am
15., führte letztendlich dazu, dass auch die anderen Forts am 16.
kapitulierten.
Die
Belagerung von Lüttich begründete auch
den legendären Ruf, der hier eingesetzten 42 cm Kanone von Krupp mit dem
Spitznamen „Dicke Bertha“
Trotz des
eher mäßig zu bewertenden Nutzens der Festungsanlagen waren Planer nach dem
Krieg der Meinung, dass der Vormarsch des deutschen Heeres effektiv 10. Tage
aufgehalten worden war.
Deutsche
Generalstäbler sahen das anders.
Es war
sicherlich so, dass die Verluste höher ausfielen als gedacht, aber der
Vormarsch wurde de facto nicht wesentlich verzögert. Der Zeitverlust konnte
sehr schnell wieder aufgeholt werden.
Dennoch.
Man ging
auch nach 1918 aus, dass ein Festungsring gegen Deutschland notwendig war, und
baute die 8 nach Norden, Osten und Süden gerichteten Forts wieder auf. Die vier
im Westen liegenden wurden aufgegeben.
Dafür
entstanden weiter im Osten, jetzt in einem Abstand von 20 km zur Stadt Lüttich,
die vier neuen Forts Aubin-Neufchateau, Battice, Tancremont und im Norden Eben
Emael. Ein weiteres fünftens, noch projektiertes Fort wurde nicht mehr
errichtet.

Zurück
nach Eben Emael.
Das
erste, was man als Besucher, der aus Richtung Masstricht kommt, als Teil der
Festung erkennen kann, ist das Steilufer des Albert Kanal.
Nun ist
es so, dass solche Kanäle häufig Steilufer haben, und deshalb muss man schon
wissen, dass sich wirklich hinter diesem Steilufer Gänge und Schächte befinden,
die unterirdisch die Geschützstellungen, Mannschaftsbunker und Blocks der
Anlage miteinander verbinden, die oben auf dem Plateau sind, hier unten dem Besucher
aber verborgen bleiben.
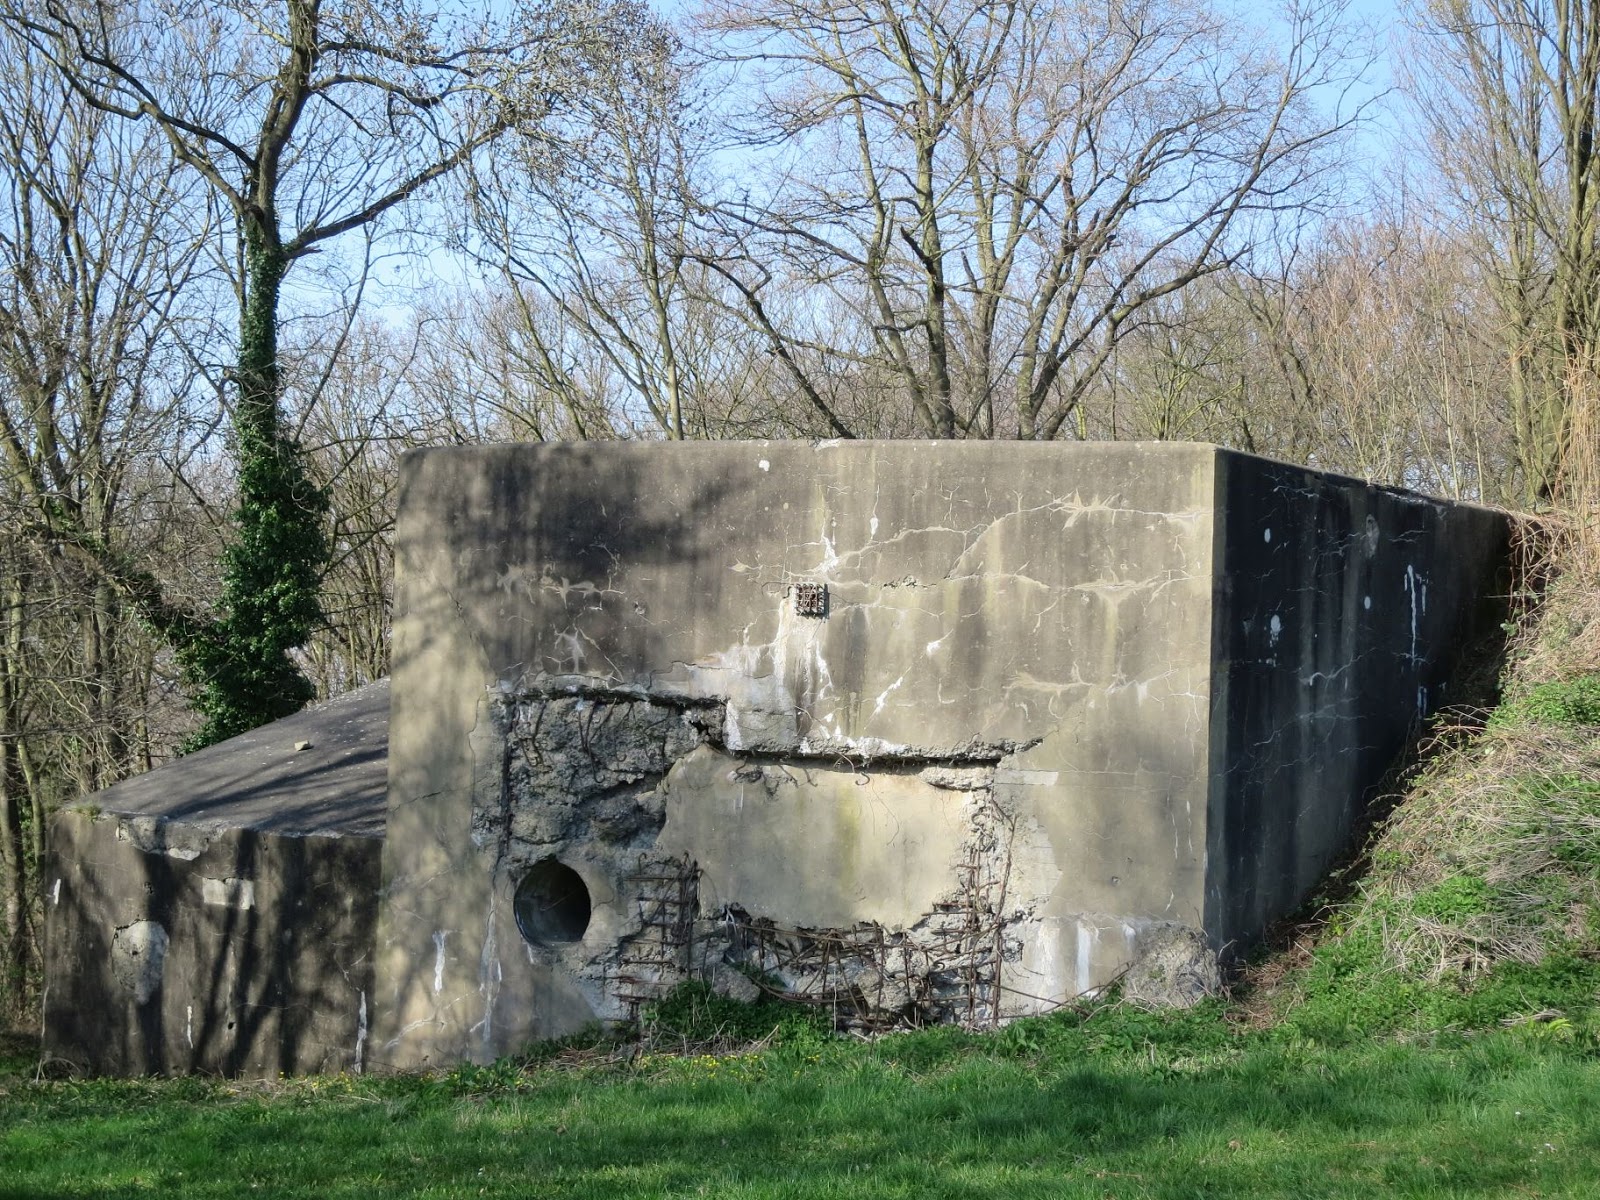
Hat man
dann die Einfahrt zu Museum gefunden, sieht man zuerst einen schwarzen
Betonklotz und eine Öffnung, die jetzt nicht unbedingt einladend wirkt.
Sollte
sie ja auch nicht.
Sie war
zur Abwehr gedacht.
In
Schießscharten schauen einem noch Waffen an. Kanonen und MGs.
Bevor sie
sich aber jetzt von der „schwarzen
Höhle“ verschlucken lassen, ignorieren Sie diese bitte.
Wenden
Sie sich nach links, gehen sie um den Block 1 herum, denn dann sehen sie schon
die Treppe, die nach oben auf das Plateau führt.


Sie
sollten es so tun, wie die deutschen Fallschirmjäger 1940.
Fangen sie
oben an.
Denn nur
dann werden sie beim Besuch des inneren Teils besser verstehen, wie die ganze
Anlage miteinander verbunden ist.
Ich habe
das nicht getan, und musste deshalb viel mehr abstrahieren.
Bereits
in meinem ersten Bericht hatte ich Ihnen Bilder der Außenanlage gezeigt.
Auf ein
paar Punkte möchte ich jetzt nochmals eingehen.
Zum Glück
leben wir ja in digitalen Zeiten. Vergessen Sie deshalb bitte nicht an einer
der Hinweistafeln den Rundweg zu fotografieren, oder laden Sie sich das Bild
jetzt von diesem Bericht auf Ihr Handy.

Warum?
Im Grunde
gibt es einen logisch angelegten Rundweg, der sie an den Anlagen vorbeiführt,
wenn sie sich darauf zielgerichtet bewegen.
Wenn Sie
nicht auf den Plan schauen, so wie Sven, Stefan und ich, dann könnten sie etwas
vergessen.
Bei uns
war das so.
Wir
gingen tatsächlich nochmals den ganzen Weg zur Feuerleitkuppel Eben 1 zurück,
weil die dann schon etwas abseits liegt, aber diesen fantastischen Blick ins
Land hinein ermöglicht.


Wäre ich
da oben mit meinen anderen Kumpels rumgelaufen, hätte ich vielleicht Ralf nochmals
überreden können, mitzukommen.
Jens und
Heiko hätten gemeint, ich glaub es hackt.
Nun gut.
Sie wären dann schon früher in dem Pfannkuchenhaus, direkt am Eingang des
Geländes, eingekehrt, was ich Ihnen übrigens als Abschluss Ihres Trips auch
empfehlen möchte.


(bei den beiden Fotos habe ich einen Filter getestet. In Realität ist es da bunter ;-)))
Also. Ich
sage es nochmals. Pläne sind dazu da, dass man auch einmal auf sie draufschaut.
Wenn Sie
dann oben auf dem Plateau stehen, fassen Sie dann auch erst einmal die Weite
der Anlage. Die Kuppeln und Kasematten scheinen verstreut, ungeordnet zu
liegen.
Dem ist
aber nicht so.
Das
System werden sie später beim Besuch des Museums und der Führung verstehen.
Hier oben
erwarten Sie dann folgende Anlagen:
Ziemlich
in der Mitte, gefühlt sehen Sie diese von allen Seiten und irgendwie zieht es
einen da auch hin, befindet sich Kuppel 120 als drehbare Panzerkuppel mit einer
Gesamtmasse von 450 t und zwei Kanonen vom Kaliber 120 mm.

Die
beiden Kuppeln Nord und Süd, beide versenkbar, deshalb sehen sie oben nur das
abgerundete Dach, waren mit zwei Kanonen vom Kaliber 75 mm bewaffnet.

Dann
sehen sie die vier langgezogenen Rechtecke: Die zwei nach Norden wirkenden
Kasematten Maastricht 1 und 2 sowie die beiden nach Süden wirkenden Kasematten
Vise 1 und 2. Alle diese Kasematten bewaffnet mit je drei Kanonen vom Kaliber 75 mm.


Schauen
sie sich bitte diese Stellungen genauer an. Die Geschützrohre sind verbogen.
Die Kuppeln haben Löcher und tragen Explosionsspuren. Das ist nicht dem Zahn
der Zeit geschuldet, sondern tatsächlich Spuren der Kämpfe von 1940.


3
Scheinkuppeln, sie sahen so aus, wie die 120er Kuppel, waren aber nur Attrappen,
waren auch noch hier oben installiert.
Deren
Originalplatz ist im Plan auch eingezeichnet.
Ein
Modell steht mittlerweile vor dem Eingang zum Museum.
Sie sind
daran vorbeigegangen.

Die
schwarzen Blöcke, die wie Zwillinge des Eingangsbereichs aussehen, und an denen
sie auch vorbeikommen, dienten zur Nahverteidigung:


Block I
als Haupteingang, Block II, Block IV, Block V, Block VI, Kanal Nord, Kanal Süd,
Maschinengewehrbunker Mi-Nord, Maschinengewehrbunker Mi-Süd und südlich, der
außerhalb des Forts liegende Block 01.
Dass ist
der, zu dem ich zurücklaufen musste.
Der
letztgenannte Block war durch einen unterirdischen Gang mit dem Fort verbunden.
„Alle
diese Blöcke hatten gepanzerte Beobachtungsstände, Scheinwerfer und Kanonen mit
Kaliber 60 mm. In dreien der Blöcke waren größere Beobachtungsstände für die
Gefechtsleitung eingebaut. Dies waren die Spähkuppeln 'Eben 1' auf Block 01,
'Eben 2' auf Werk 'Mi Nord' und 'Eben 3' auf der Kasematte 'Maastricht 2'.“
(ich zitiere der Einfachheit halber hier wörtlich aus dem Wikipedia Artikel).
Die
meisten dieser Blöcke können Sie dann auch selbst von oben in Augenschein
nehmen.
Versuchen
Sie das System auf sich wirken zu lassen.
Die oben
beschriebenen Kanonen sollten die Gegend befeuern.
Diese
Blöcke und die vor ihnen liegenden Gräben, sollten einen Feind aufhalten, der
sich Ihnen nähert.
Deren generelle
Funktionsweise habe ich in meinem Verdun Artikel beschrieben. Denn in Verdun
haben sich deutsche Truppen durch die Grabenstreichen kämpfen müssen.
Hier geht
es zum Bericht:
Neben
diesen Annäherungsgräben, gab es auch Panzergräben, teilweise mit Wasser
gefüllt, die das Annähern des Feindes verhindern sollten.


Aber der
kam ja aus der Luft.
Wenn Sie
den Rundgang auf dem Plateau hinter sich haben, machen sie am besten eine
kleine Pause, und lassen Sie nochmals alles auf sich wirken.


Auch
Ihnen wird aufgefallen sein, dass das „Dach“ der Festung schon einmal ziemlich
groß ist: Ein Dreieck von 950 x 750 m.
Die
Gesamtfläche des militärischen Geländes beträgt 75 ha. Eine Fläche von 100
Fußballfeldern.
Die
Funktionsweise, das Zusammenwirken der Bunker, ist Ihnen vielleicht noch nicht
so klar.
Aber
halten wir an dieser Stelle einmal fest, dass da folgende Waffen aufgebaut
waren:
2 x 120
mm Kanonen, 16 x 75 mm Kanonen, dazu kommen noch die 60 mm Kanonen der Blöcke.
Das sind dann auch noch ungefähr 10 Stück. Dazu kommen ja noch die MGs für die
Nahverteidigung.
Da reden
wir dann schon von Feuerkraft.
Stellen
Sie sich das alles mal als eingegrabene Panzer vor.
Dann
können Sie es vielleicht besser fassen.
Nach der
kleinen Pause gehen Sie dann zurück zum Eingang in Block I.

Man betritt
die Festung und geht über einen Holzboden, der im Verteidigungsfall entfernt
werden konnte, und so als Schutzgraben diente. Das ist jetzt einmal etwas, was
uns bekannt vorkommt. So was wie die Zugbrücke oder der Torgraben einer Burg.


Immerhin.
Am Ende
des Ganges kommt man wieder zu einem MG, das den Besucher heute nicht mehr
bedroht, aber dafür vorgesehen war, unerlaubte Besucher in der Vergangenheit zu
vernichten.

Schwere
Panzertüren verschließen hier den Eingang zur Anlage.


Sind sie
für den Besucher geöffnet, dann betritt man ein Labyrinth von Gängen.


Relativ
früh sieht man dann schon einmal einen Plan der Ihnen bei der Groborientierung
hilft.


Haben sie
keine Angst. Verlaufen werden sie sich nicht. Sie werden durch die Anlage
geleitet.


Und die
Teile der Anlage, in die sich nicht alleine sollen, die betreten sie eh nur in
einer Gruppe mit einem Reiseführer.
Sie
können hier dann auch immer mal vom Hauptgang abzweigen.


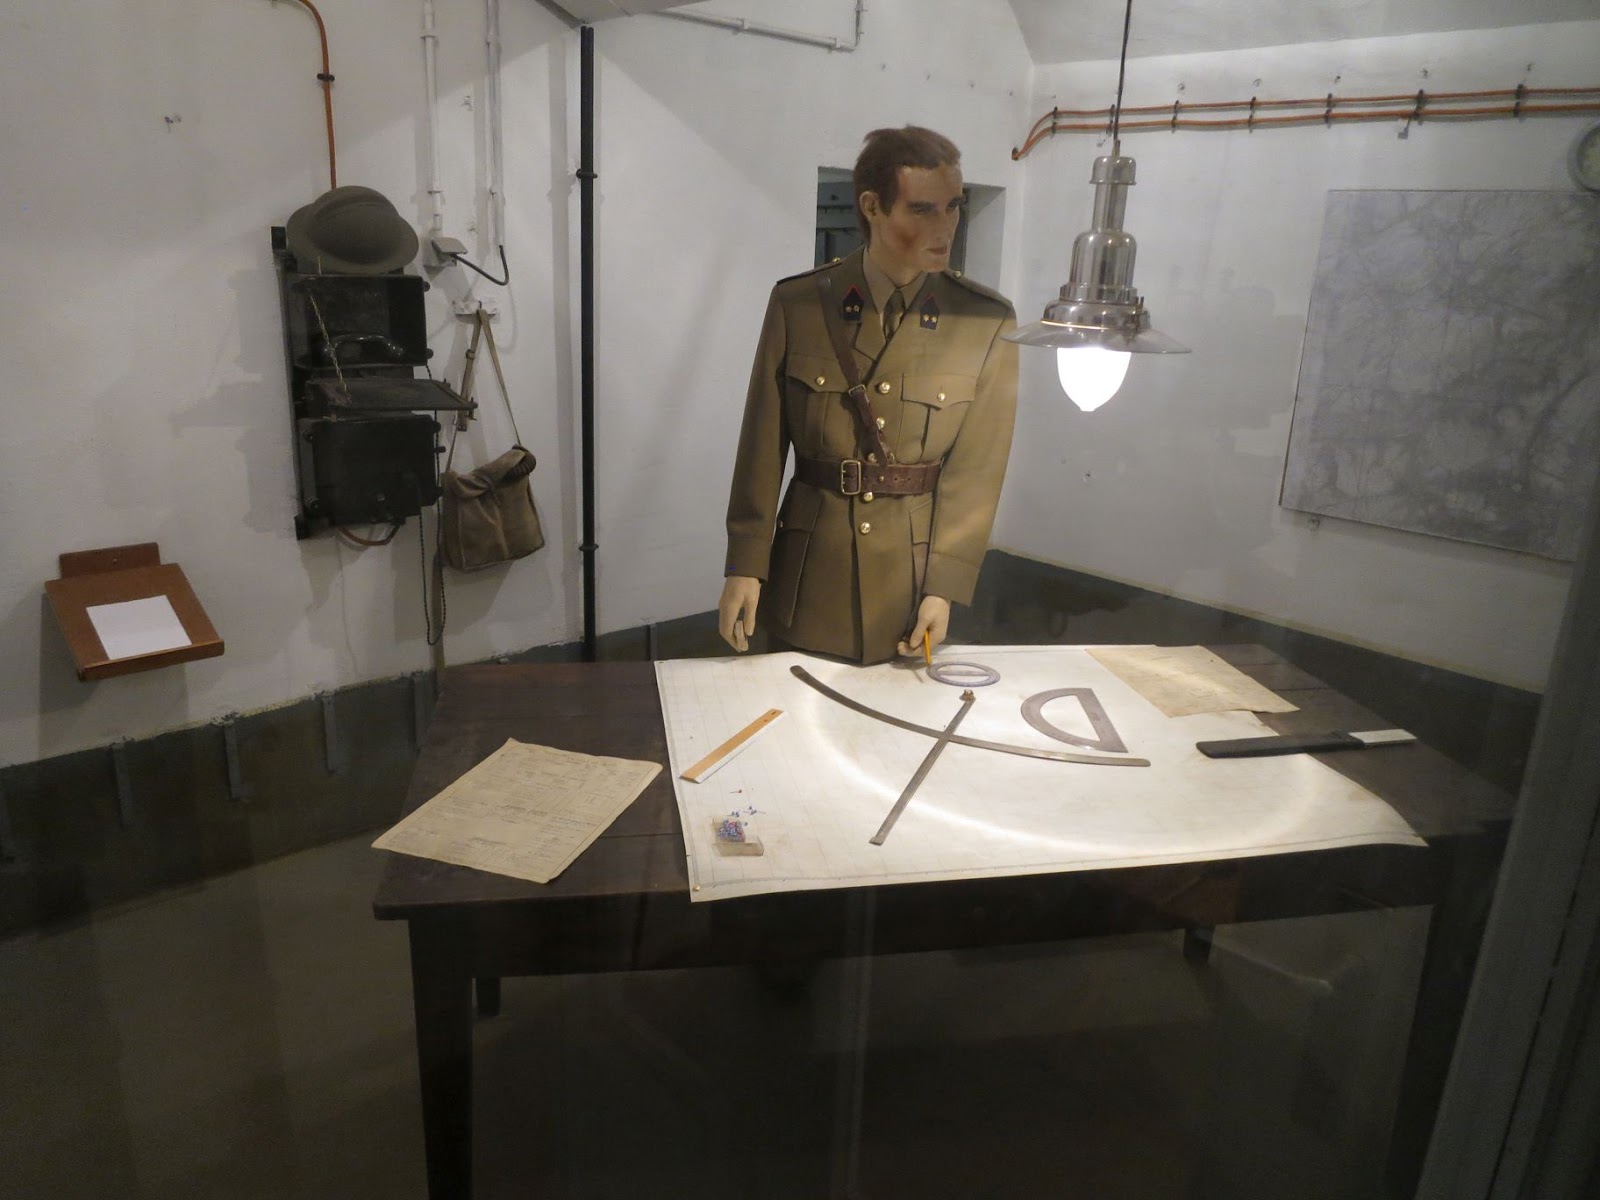
Sie
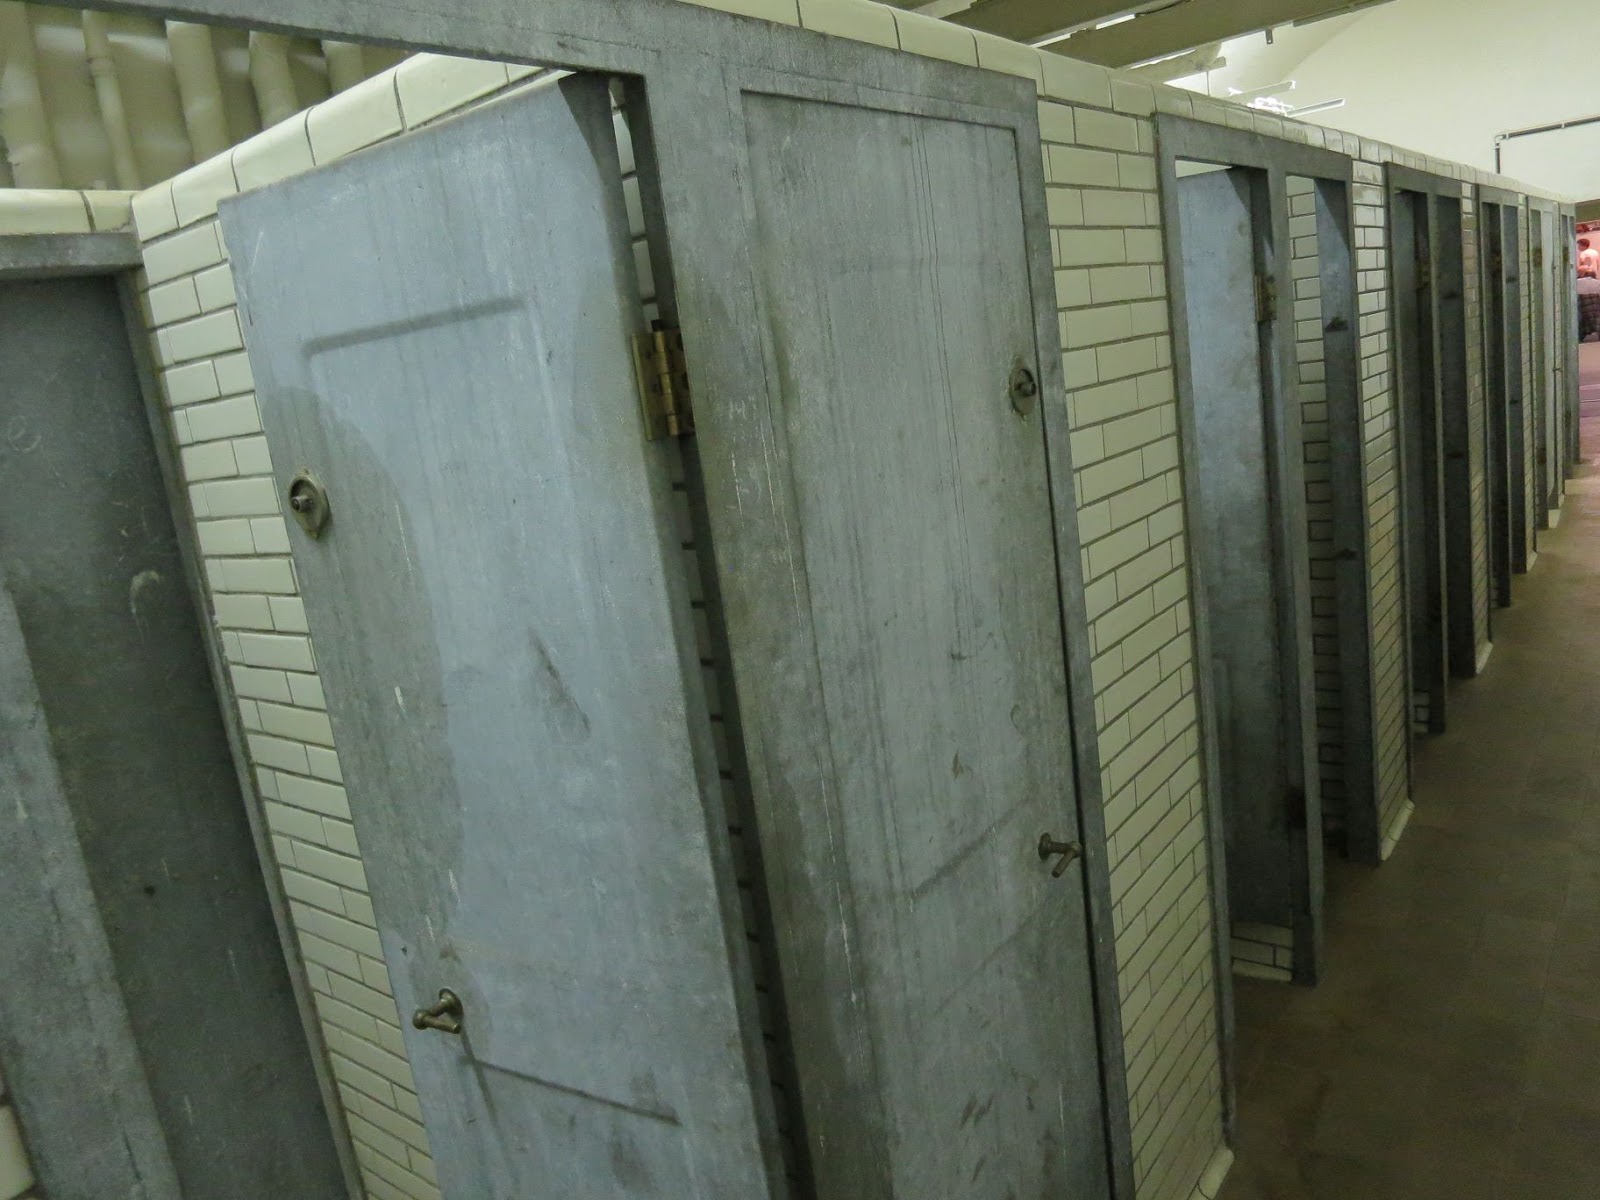
kommen zur Arrestzelle, in die Maschinenräume, in die rekonstruierten Teile der
Anlage.
Letztendlich
führt Sie der Weg dann auch in die zugehörige Cafeteria, wo sie dann auch die
Eintrittskarte für den Rundgang und die Führung erwerben können.

Eines
werden Sie jetzt aber schon festgestellt haben. Die Gänge sind schon ziemlich
lang; und während die Anlage oben auf dem Plateau, doch sehr luftig gewirkt
hat, so folgt der Teil hier unten einem in sich logischem System, dass Sie dann
auch sehr schnell erfassen werden.


Erkennen
werden sie bereits jetzt, dass diese Anlage hier unten schon riesig ist: 5,3 km
Gänge sind dann ja schon etwas.
Alles
geschützt durch meterdicken Stahlbeton.
Hat es
etwas genützt?
Nein.


Das soll
es für heute gewesen sein.
Aber
bevor ich es vergesse: Die Führungen in deutscher Sprache finden zu bestimmten
Uhrzeiten statt. Die Termine erfahren Sie auf der Webseite.
Wie
gesagt. Ich würde an Ihrer Stelle die zweite Führung nehmen, und mich vorher
der Außenanlage und den frei begehbaren Teilen der Festung zuwenden.
Planen
Sie alleine schon einmal dafür 2 ½ Stunden ein. Die brauchen sie da schon.
In den
nächsten Berichten, es werden dann wohl doch zwei, werde ich die Kämpfe
nochmals genauer beschreiben, und dabei auch Bilder vom Rundgang aus dem
inneren Teil der Kasematten zeigen.
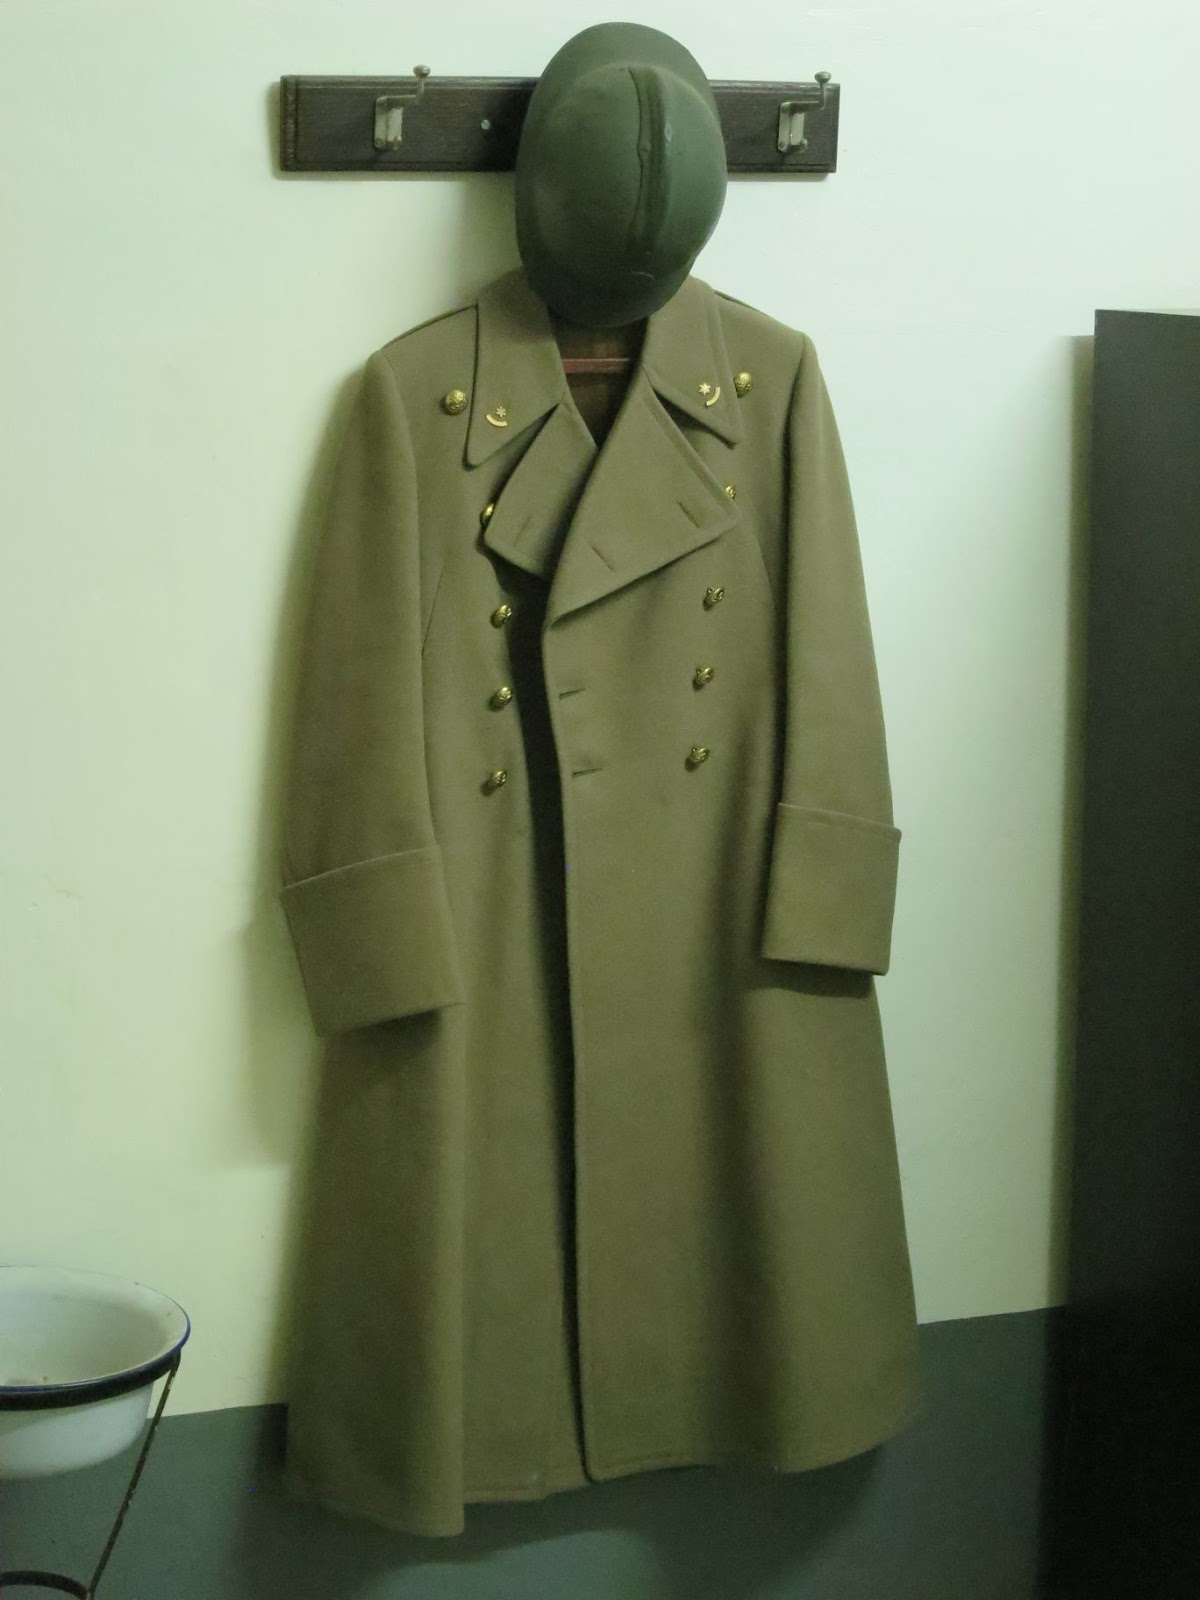
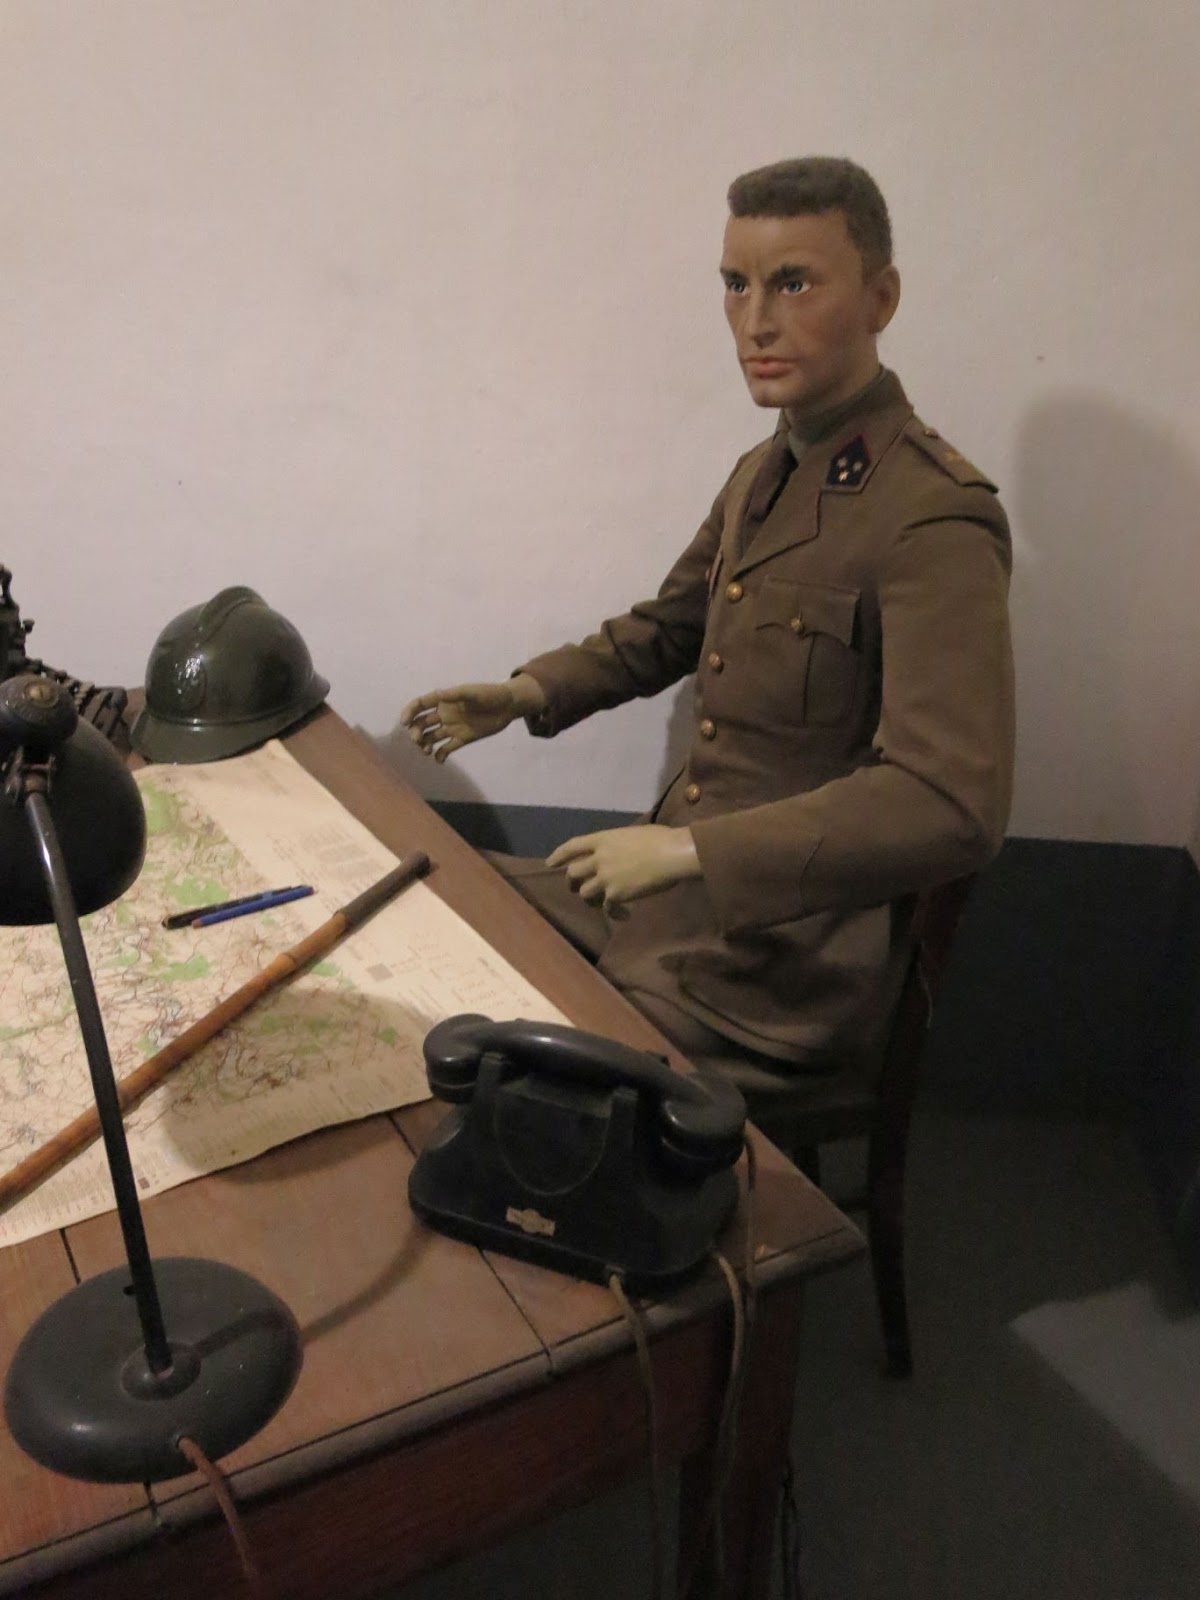
Bilder
zum musealen Teil, Uniformsammlung etc., werden dann den Abschluss bilden.


Ein
Hinweis in eigener Sache:
Die
beiden Berichte werden dann aber erst nach einer kleinen Pause im Juni
erscheinen.
Vorher
gibt es etwas aus dem Wargaming Bereich.
Der BLOG
spricht ja unterschiedliche Interessenten an.
Danke
Ralf für den Hinweis.
Mein
Freund war schon etwas von der Eylau Serie ermüdet, deren Berichte ich ziemlich
zielgerichtet hintereinander rausgeklopft hatte. ;-)))
Also die
Fans von Eben Emael müssen sich somit etwas gedulden.
(sprechen
Sie die Ortschaft übrigens NICHT mit einem „ä“ aus. Das „e“ ist ein Dehnungsbuchstabe.
Heißt: Es
wird Eben E- maaal ausgesprochen)


The first thing you see my dear readers when you
approach Eben Emael Fortress is ...
nothing at all.
Yes. You read that right.
Visitors, who are familiar to castles or even Vauban
fortresses, and who await fortifications as ditches, towers, bastions, lunettes,
various walls and fortified approaches, may even be disappointed.
Yes.
Eben Emael is a modern fortress.
If you have ever been to a Maginot Line facility, then
you will get a recognition value.
Then you think. Yes. I suspect something.
Eben Emael was also built after the First World War,
more specifically between 1932 and 1939, and was considered one of the newest
and most powerful fortifications in the world.
It had arisen as a direct reaction to the war events
of the First World War with the violation of Belgian neutrality by invading
German imperial troops.
In fact, it actually extended the Maginot Line
northwards and, as a fort, formed the northernmost complex in the Liège
fortification belt.
Fortresses in the Liège area had a tradition that
dates back to the 19th century.
The Franco-Prussian War had not touched Belgian
neutrality in 1870. It was uncertain whether this would remain the case in the
future.
The Belgians were also clear about this.
Because of this fear, Belgium
decided between 1882 and 1892 to build a fortress belt with a total of 12 forts
around Liège, which should dominate the important Meuse
crossings and the border triangle Germany-Netherlands-Belgium.
The forts were concentric at a distance of 7 km around
the inner city ring of Liège, and were already built in concrete.
As so often in the history of the war, these forts
were held to be impregnable at the beginning of the First World War.
An expertise that could not be kept like this. On the
contrary.
The deployment plans of the German Empire after
1870/71 actually provided for the violation of Belgian neutrality.
Not only the Schlieffen plan, the decades-long creed
of German-Prussian general staff work, but also the modified Moltke plan,
provided for an idea to invade Belgium
However, the neutrality of the Netherlands should also be ignored in the Schlieffen
plan, which would have enabled German troops to bypass the fortress belt in Belgium
The concentration of German troops in Belgium
The citadel and city center could then be occupied
relatively quickly by German troops (fighting between August 4th and 7th).
However, resistance had already been more violent here
than expected.
However, the forts all stood and had to be fought (8
to 16 August).
2 forts surrendered before the heavy German siege
artillery arrived on August 12th.
When the heavy cannons opened fire, all forts between
Lies in the north and Embourg in the south surrendered until the 14th.
The explosion of Loncin Fort, caused from a direct hit
in the ammunition chamber on the 15th, ultimately led to the other forts
capitulating on the 16th.
The siege of Liège also established the legendary
reputation of the 42 cm Krupp cannon used here, nicknamed "Dicke Bertha".
Despite the rather moderate use of the fortifications,
planners after the war believed that the advance of the German army had
effectively been held up for 10 days.
German general staff saw it differently.
It was certainly the case that the losses were higher
than expected, but the advance was in fact not significantly delayed. The loss
of time could be made up very quickly.
Yet.
It was also assumed after 1918 that a fortress ring
against Germany
To this end, the four new forts Aubin-Neufchateau,
Battice, Tancremont and in the north Eben Emael were built further to the east,
now 20 km from the city of Liège
Back to Eben Emael.
The first thing you can recognize as a visitor from
the direction of Masstricht as part of the fortress is the steep bank of the Albert Canal
Now it is the case that such canals often have steep
banks, and therefore you have to know that there are really passages and shafts
behind this steep bank that connect the gun emplacements, crew bunkers and
solid concrete entrances, called Bloc’s, that are on the top of the plateau but
stay hidden from the visitor down here.
Once you have found the entrance to the museum, the
first thing you see is a black concrete rock, it is Bloc I, and an opening that
is now not necessarily inviting.
Shouldn't be either.
It was designed to ward off.
Guns still look at you in loopholes. Cannons and MGs.
Before you let yourself be swallowed up by the
"black cave", please ignore it.
Turn left, go around Bloc I, because then you will see
the stairs that lead up to the plateau.
You should do it like the German paratroopers did in
1940.
Start at the top.
Only then will you better understand how the whole
system is connected when you visit the inner part of the fortress.
I didn't do that, so I had to abstract a lot more.
In my first report I already showed you pictures of
the outdoor area.
I would now like to go into a few points again.
Fortunately, we live in digital times. So please do
not forget to take a picture of the circular route on one of the information
boards, or download the picture from this report to your mobile phone.
Why?
Basically, there is a logically designed circular
route that leads you past the facilities if you move on them in a targeted
manner.
If you don't look at the map, like Sven, Stefan and I
myself, you could forget something.
That was the case with us.
We actually went all the way back to the fire control
dome Eben 1, because it is a little out of the way, but allows this fantastic
view of the country.
If I had been walking up there with my other buddies,
I might have persuaded Ralf to come along.
Jens and Heiko would have said, “Hey Koppi. Are you
crazy?”.
Well. They would have come to the pancake house
directly at the entrance of the site earlier, which I would also like to
recommend as a conclusion of your trip.
So. I say it again. Plans are there to have a look at
them.
When you are standing on top of the plateau, you
should first grasp the width of the system.
The domes and casemates seem to be scattered,
disorganized.
But this is not the case.
You will understand the system later when visiting the
museum and the guided tour.
You can expect the following systems up here:
Pretty much in the middle, you can see it from all
sides and somehow it also pulls you there, dome 120 is a rotatable armored dome
with a total mass of 450 t and two cannons of caliber 120 mm.
The two domes north and south, both retractable, so
you can only see the rounded roof above, were armed with two cannons of 75 mm
caliber.
Then you see the four elongated rectangles: the two
north-facing casemates Maastricht
Please take a closer look at these positions. The gun
barrels are bent. The domes have holes and carry traces of explosion. This is
not due to the ravages of time, but actually traces of the 1940 struggles.
3 dummy domes, they looked like the 120 domes, but
were only dummies, were still installed up here.
Their original location is also shown in the plan.
A model is now standing in front of the entrance to
the museum.
You passed it.
The black Blocs, which look like twins in the entrance
area and which they pass, were used for close-range defense:
Bloc I as the main entrance, Bloc II, Bloc IV, Bloc V,
Bloc VI, Canal North, Canal South, machine gun bunker Mi-North, machine gun
bunker Mi-South and South, Bloc 01 outside the fort.
That is the one I had to run back to.
The latter Bloc was connected to the fort by an
underground passage.
“All of these Blocs had armored observation stands,
headlights and cannons with a 60 mm caliber. In three of the Blocs, larger
observation posts for the command and control team were installed. These were
the scout domes 'Eben 1' on Bloc 01, 'Eben 2' on the work 'Mi Nord' and 'Eben
3' on the casemate 'Maastricht
You can then inspect most of these Blocs yourself from
above.
Try to let the system work on you.
The cannons described above should fire the area.
These Blocs and the trenches in front of them should
stop an enemy approaching you.
I described their general functioning in my Verdun Verdun
Click here for the report:
In addition to these approach trenches, there were
also anti tank trenches, partially filled with water, which were intended to
prevent the enemy from approaching.
But the enemy came from the air.
When you have finished the tour on the plateau, it is
best to take a little break and let everything work its magic again.
You will also have noticed that the “roof” of the
fortress is quite large: a triangle of 950 x 750 m.
The total area of the military area is 75 ha. An
area of 100 football fields.
The mode of operation, the interaction of the bunkers,
is perhaps not yet so clear to you.
But let us note at this point that the following
weapons were set up:
2 x 120 mm cannons, 16 x 75 mm cannons, plus the 60 mm
cannons of the Blocs. In addition there are the MGs for close defense.
We are talking about firepower.
Think of it all as a defense line with dug in tanks.
Then maybe you can grasp it better.
After the short break, go back to the entrance in Bloc
I.
You enter the fortress and walk over a wooden floor
that could be removed in the event of a defense and thus served as a protective
ditch.
Now that's something that we know. Something like the
drawbridge or the moat of a castle.
After all.
At the end of the aisle you come back to an MG, which
no longer threatens the visitor today, but was intended to destroy unauthorized
visitors in the past.
Heavy armored doors close the entrance to the
facility.
If they are open to the visitor, you enter a labyrinth
of corridors.
You will see a plan relatively early on that will help
you with the rough orientation.
Do not be afraid.
You won't get lost. You will be guided through the facility.
You can always branch off from the main course here.
You will come to the arrest cell, to the machine
rooms, to different rooms in the reconstructed parts of the facility.
Ultimately, the path then leads you to the associated
cafeteria, where you can buy the ticket for the general entrance and the guided
tour.
But you will have already noticed one thing.
The hallways are quite long; and while the system at
the top of the plateau looked very airy, the part down here follows an
inherently logical system that you will then grasp very quickly.
You will already recognize that this facility is
already huge down here: 5.3 km of corridors are something.
Everything protected by meter-thick reinforced
concrete.
Was it useful?
No.
That should be it for today.
But before I forget: the tours in German, an in other
languages, take place at certain times. You can find the dates on the website.
As I said. I would take a later tour and turn to the
outside area and the freely accessible parts of the fortress beforehand.
Allow 2 ½ hours for this alone.
In the next reports, there will be two, I will
describe the battle in more detail, and also show pictures of the tour from the
inner part of the casemates.
Pictures of the museum itself, uniform collection etc.
will then form the conclusion.
A note on our own behalf:
However, the two reports will only appear after a
short break in June.
Before that I will write some wargaming articles.
The BLOG addresses different interested parties.
So the fans of Eben Emael have to be patient.
(By the way, do NOT pronounce Eben Emael with an
"ä". The "e" is an expansion letter.
Means: It is pronounced E-maaal, so for English
speaking readers Ey-maaal)
Hallo ! Klasse Bericht und Fotos vom Fort Eben Emael in Belgien. Liebe Grüße Andreas Zimmermann
AntwortenLöschen